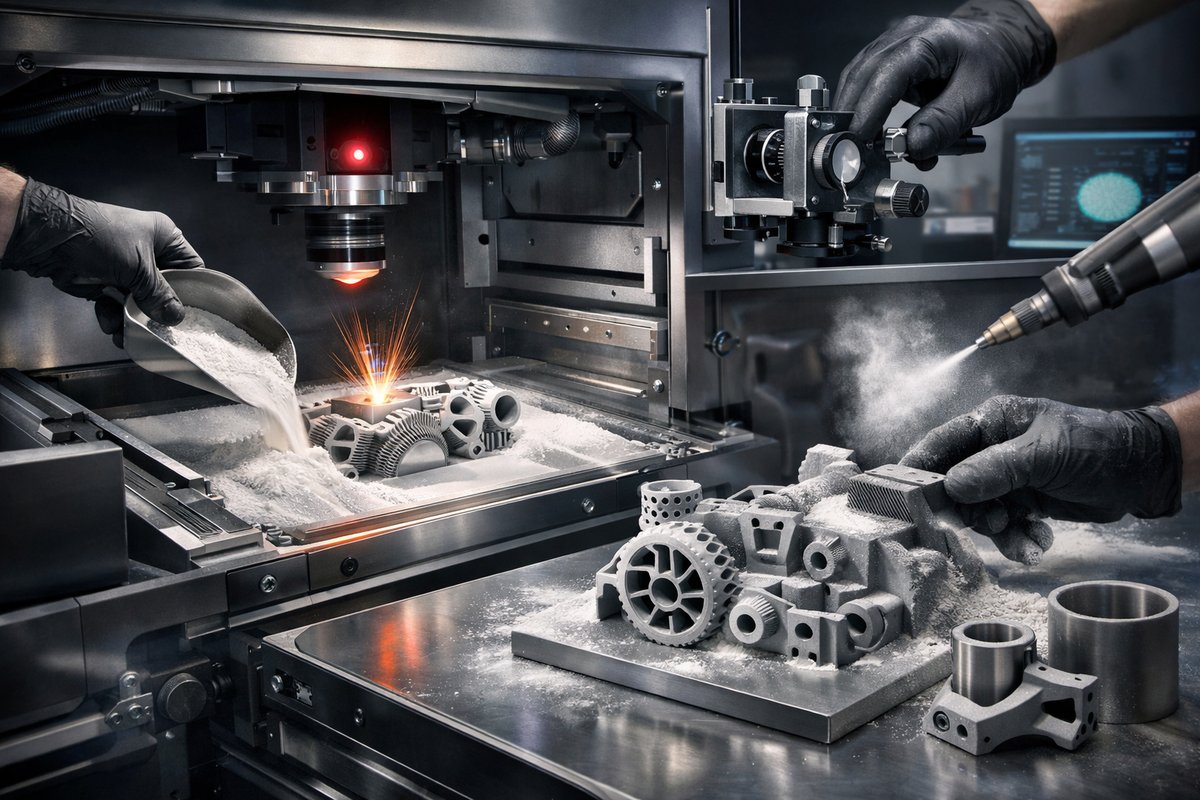

Selective Laser Sintering (SLS) feels like a leap into the future of manufacturing: a fine nylon powder spread into ultra-thin layers, then fused by a precisely directed laser beam. What emerges is a robust, detailed part that would be almost impossible to carve out through subtractive methods alone. Rather than removing material to reveal form, SLS builds up geometry from scratch, giving you freedom to create complex lattices, internal channels, or organic shapes that resist machining. This article provides a detailed, step-by-step walkthrough of desktop or light-industrial SLS printing, with tips on essential tools, handling, post-processing, and optional CNC refinement.
Understanding the Workflow
Every successful SLS build follows a set of interdependent stages. Each stage demands attention to safety, precision, and consistency. By mastering the flow-from preparing the digital model to completing final finishing-you’ll turn raw polymer powder into functional prototypes and end-use parts that meet demanding performance criteria.
Design and Digital Preparation
Your journey begins in CAD software. Design with the SLS process in mind: include wall thicknesses suited to nylon or polyamide powders (often 0.8-1.5 mm), avoid extremely thin overhangs without support, and leverage lattice structures to reduce weight while maintaining strength. Export your model as an STL file, then load it into slicer software designed for SLS. Here you can adjust layer height (common values: 60-120 µm), laser power, and scan speed. Pay special attention to part orientation: laying certain faces flat on the build plate can minimize the total number of layers, reducing build time and warp risk.
Powder Handling and Chamber Preparation
Polyamide-based powders (PA11, PA12) or thermoplastic elastomers come in sealed bags. Always weigh out only what you need. Transfer the powder to a build chamber or cartridge in a dedicated powder booth or low-airflow lab space. Wearing a respirator with P3 filters, dispense powder evenly with a manual spreader or built-in roller mechanism. Check that the build plate is clean, flat, and preheated to just below sintering temperature-usually in the 170-180 °C range for nylon. This preheat prevents adhesion issues and reduces internal stresses during fusing.
Laser Calibration and First Layers
Before committing to a full build, run a calibration pattern. Most SLS systems let you sinter small test squares at different laser power and scan speed settings. Examine the density, surface finish, and curvature of each sample. Adjust parameters until you see uniform sintering without excessive melt around the edges. When you’re ready, initiate the build. The machine will spread powder and flash the laser in precise traces. Each layer adds 60-120 µm of thickness until the build volume is filled.
Depowdering and Part Extraction
With the last layer fused, allow the chamber to cool under inert gas or filtered air until it drops below 50 °C. Open the chamber and extract the build platform. Using a brush and vacuum with HEPA filtration, remove loose powder from parts while still on the plate. Carefully chip away supports or powder bridges if your design used them to secure tall features. For enclosed channels or hidden cavities, an ultrasonic cleaning bath can help wash away trapped powder.
Post-Processing: Surface Finishing and Strengthening
Freshly sintered SLS parts have a slightly grainy texture. If you need smoother surfaces, start with media blasting. A tabletop abrasive blasting cabinet with glass beads or aluminum oxide will uniformly polish external walls. This also improves mechanical properties by reducing surface flaws. Next, consider an annealing cycle in a convection oven: heat parts to 80-100 °C for a few hours to relieve residual stresses and increase impact resistance. If high accuracy is critical, you can combine SLS with CNC finishing-machines equipped with carbide or high-speed steel end mills can trim mating faces, cut threads, or drill precise holes.
Optional CNC Refinement
Although SLS delivers impressive detail, some features still benefit from subtractive machining. A compact benchtop CNC mill with a 1/8″ carbide end mill can square up edges or bore tight-tolerance bores. For example, if you printed a gearbox housing, you might want to machine bearing seats to a 0.02 mm fit. Secure the part in a vise or custom fixture, then use a digital caliper or micrometer to dial in your zero point. Mill in shallow passes to avoid lifting delicate lattices. This hybrid workflow marries the freedom of additive design with the precision of traditional machining.
Troubleshooting and Best Practices
Warping or curling at corners often indicates insufficient chamber preheat or support strategies. Adjust geometry or add sacrificial border features. If powder clumps or doesn’t flow smoothly, check humidity levels in your lab-the ideal range is 20-40% relative humidity. Use fresh powder for critical projects but recycle partially used powder by sieving it through a 60-80 mesh screen to remove oversized particles and agglomerates. Keep a logbook of your parameter changes to help replicate successful builds or isolate issues over time.
Safety and Sustainability
Nylon and polyamide powders are food-safe but can irritate skin or lungs in dust form. Always wear nitrile gloves, a P3-rated respirator, and eye protection when handling loose powder. Invest in a proper powder extraction unit with HEPA filters to maintain air quality. When possible, reclaim unused powder for future jobs-many SLS systems allow up to 50% recycled material in fresh powder blends without compromising part quality. This conserves resources and reduces waste.
Moving Beyond Prototypes
Once you’re comfortable with single-part builds, explore multi-part nesting to maximize build chamber efficiency. SLS excels at producing interlocking assemblies in one go-door hinges, snap-fit enclosures, living hinges, or lattice-reinforced panels. You can even integrate printed snaps and clips into larger mechanical systems without additional hardware.
Final Thoughts: The Art of Subtraction and Addition
Subtractive machining has long been the backbone of manufacturing, but additive processes expand what’s possible in design and speed. Selective Laser Sintering, in particular, bridges these worlds by delivering strong, complex parts that can be further refined with CNC tools. Embrace the cycle of building, testing, and refining. Document your experiments, share successes and failures, and you’ll evolve from novice to expert in this dynamic craft of creation through addition.
Whether you are a hobbyist seeking new horizons or a seasoned technician adding an SLS cell to your shop, the process detailed here offers a solid foundation. Gather your tools, prepare your designs, and get ready to watch polymer powder transform under laser light into functional parts that push the boundaries of engineering and art.