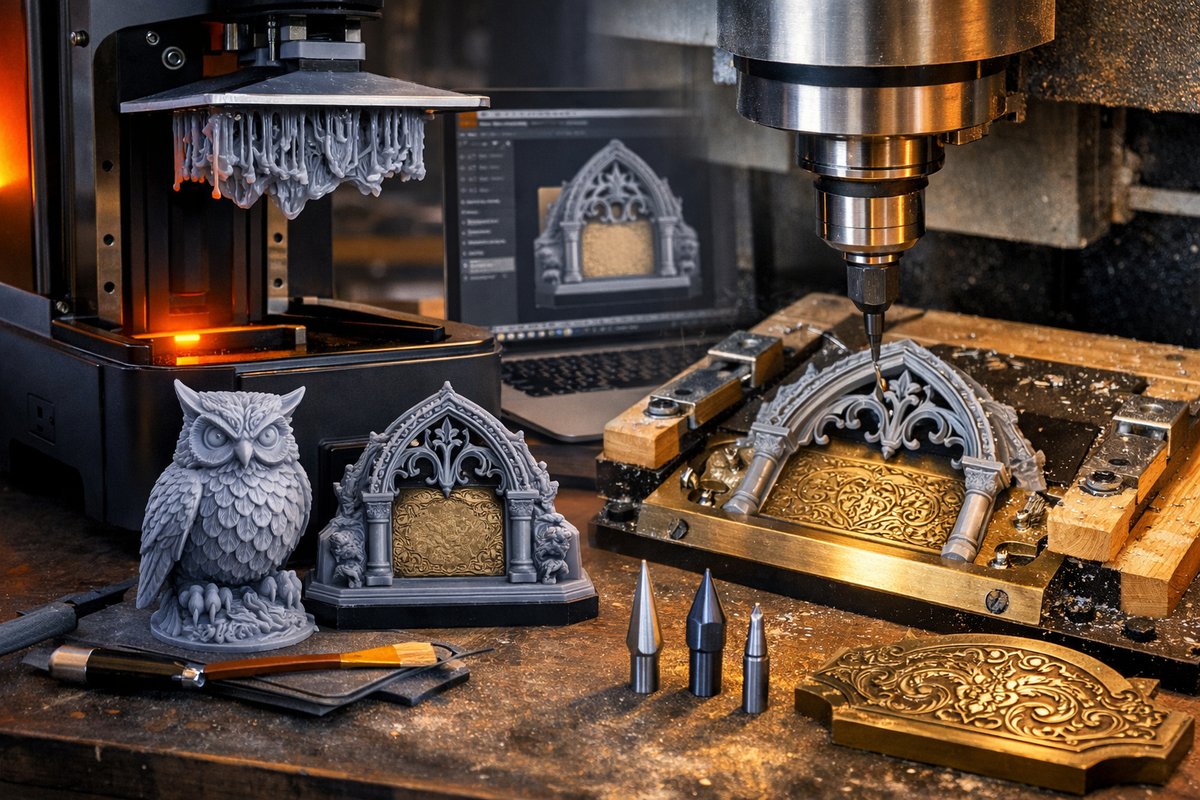

In an age where digital fabrication often splits into two camps-additive on one side, subtractive on the other-there is a unique thrill in marrying resin 3D printing and CNC engraving. Each technique brings its own strengths: photopolymerization unlocks organic complexity layer by layer, while precise milling reveals crisp lines and inlays with uncanny consistency. By learning to flow smoothly from one process to the next, you gain access to an expanded palette of forms, textures and finishes.
This guide outlines a practical workflow built around a desktop SLA resin printer and a benchtop CNC router. You’ll explore how to design an intertwined model, calibrate print settings, clean and post-cure your part, then transfer it to a router for engraving intricate patterns. Whether you want to personalize a jewelry box lid, add filigree to a cosplay prop or carve topographic lines into a printed map, these methods will bring out unexpected beauty in each project.
Before you begin, gather the essential tools and materials. You’ll need a resin vat loaded into a bottom-up SLA or DLP printer, UV-curable resin formulated for detail, a UV curing station, nitrile gloves and a filter funnel. On the subtractive side, have a desktop CNC router with a small vice or vacuum fixture, a set of carbide engraving bits ranging from fine diamond-point to 1/8″ ball-nose end mills, and precision measuring tools like digital calipers or a dial indicator. A reliable slicing software that can export both STL for printing and G-code for the router will bridge the two worlds.
Step 1: Model Design and Orientation
Begin in your 3D modeling environment. Sketch or sculpt the base form that you plan to print-imagine, for example, a shallow tray with a raised border. Within that border, carve a recessed area that you will later engrave. Export two versions of the file if needed: a full STL for resin printing and a simplified outline for the CNC toolpath. Keep walls at least 2-3 mm thick to ensure structural stability during machining. When orienting for the printer, angle surfaces that have gentle sloping detail to reduce support contact. For the CNC, think ahead about how you will access each face without collision.
Step 2: Printer Setup and Resin Preparation
With the model loaded into your slicing software, select layer heights between 25 µm and 50 µm for crisp detail. Adjust exposure times based on resin manufacturer recommendations, and add support structures that won’t block the areas destined for engraving. Level the build plate carefully, then pour fresh resin into the vat-wear gloves and eyewear, and work in a well-ventilated area. A resin filter funnel helps you catch any cured debris if you reuse leftover liquid.
Step 3: Printing Best Practices
Start the print and monitor the first few layers to ensure proper adhesion. If you notice peeling at the edges, reduce lift speed or increase bottom layer exposure. Allow the print to complete fully before removing it from the platen. Patience here pays off: a solid base means minimal shifting during later engraving.
Step 4: Cleaning and Post-Cure
Transfer the printed part into an isopropyl alcohol bath to rinse off uncured resin. Use a soft brush to reach crevices, avoid aggressive scrubbing near fine supports. Once clean, place the piece into a UV curing chamber or under a broad-spectrum UV lamp. Rotate periodically to guarantee even exposure, curing until the part feels uniformly rigid-typically 5-10 minutes per side depending on resin thickness.
Step 5: Fixturing for CNC Engraving
Now that your part is rock-solid, you need to secure it in the router. A small vice with soft jaws or a vacuum chuck works well. If your router has a rotary axis, mount the piece so that you can carve from multiple angles without remounting. Use your digital calipers to check overall height and set the Z-zero flush to the top surface. Double-check the XY alignment by jogging the router bit to touch reference corners.
Step 6: Selecting End Mills and Router Settings
For fine line engraving, a 0.1 mm diamond-tipped engraving bit produces hair-thin strokes. To carve larger textures or inlays, switch to a 1/8″ ball-nose end mill at shallow stepover. Set spindle speed between 20,000 and 24,000 rpm, feed rates of 300 mm/min for detailed passes and up to 1000 mm/min for bulk removal. Lower depth of cut (0.1-0.3 mm) prevents chatter on delicate resin parts.
Step 7: Executing the Engraving Pass
Load your G-code file that maps out the recesses or ornamental patterns. Run a dry toolpath first above the workpiece so you can watch for potential clashes. If all looks clear, begin the actual cut. Engage the spindle before plunging, retract between passes to clear chips. Because resin dust can be sticky, pause occasionally to blow out debris or apply a gentle vacuum. Keep an eye on bit wear; resin can dull diamond coatings faster than metal.
Step 8: Final Finishing Touches
Once engraving is complete, remove the part from the fixture. A fine-grit sanding sponge can smooth any micro burrs along edges, but avoid heavy abrasion over your engraved details. Use a soft brush or air blast to clear remaining dust. If desired, highlight engraved areas by brushing in a thin coat of contrasting acrylic paint and wiping clean-this accentuates the carved patterns. Seal the surface with a light spray of clear varnish for protection.
This hybrid approach highlights the best of both additive and subtractive worlds. Resin printing grants you the freedom to create flowing, organic contours; CNC engraving layers in sharp, mechanical precision. As you refine each step-from leveling the printer’s build plate to dialing in feed rates on your router-you’ll develop an intuitive feel for how these techniques complement one another. Challenge yourself to experiment with different resins, engraving bit geometries and toolpaths. Over time, you’ll unlock more advanced methods, like carving multiple depths or integrating inlay materials into printed recesses.
By bridging separate toolchains into a cohesive craft, you honor the longstanding tradition of shaping raw material with disciplined subtraction while embracing the boundless possibilities of modern additive manufacturing. Now gather your tools, prepare your next hybrid design, and experience firsthand the quiet satisfaction that comes when digital layers meet carved precision.
-
ELEGOO Saturn 3 MSLA 12K 3D Printer - Amazon.com
ELEGOO Saturn 3 MSLA 12K 3D Printer | Desktop Resin Impresora with 10-Inch Monochrome LCD, Voxeldance Tango Slicer, Large Printing Size of 8.62 × 4.84 ... -
Uv Cure Box - Amazon.com
FAST MELT UV Resin Curing Box, 395nm UV Curing Light Station with 36 LED Beads, Auto UV Curing Resin Dryer Timer Setting Digital Display(S/M/H) wit Tray, UV ... -
Desktop Cnc Machine - Amazon.com
Genmitsu Cubiko CNC Router Machine with Enclosure, PCB Milling Machine, Smart Desktop CNC with Auto Z-Probing, WiFi & APP Supported, Great for Polishing, ... -
Carbide Engraving Bits - Amazon.com
... 10PCS Engraver Diamond Point Tungsten Carbide Steel Bits & Spare Parts Set for UTOOL Engraving Tool · 50+ bought in past month. Add to cart. -
Precision Caliper - Amazon.com
Accurate digital and manual calipers for DIY and professional use. -
Nitrile Gloves - Prime Eligible - Amazon.com
Results · Supmedic Medical Soft Max™ Nitrile Exam Gloves, 100 Count Latex-Free Powder-Free Non-Sterile Food Safe Disposable Glove, Blue · Inspire Black Nitrile ...