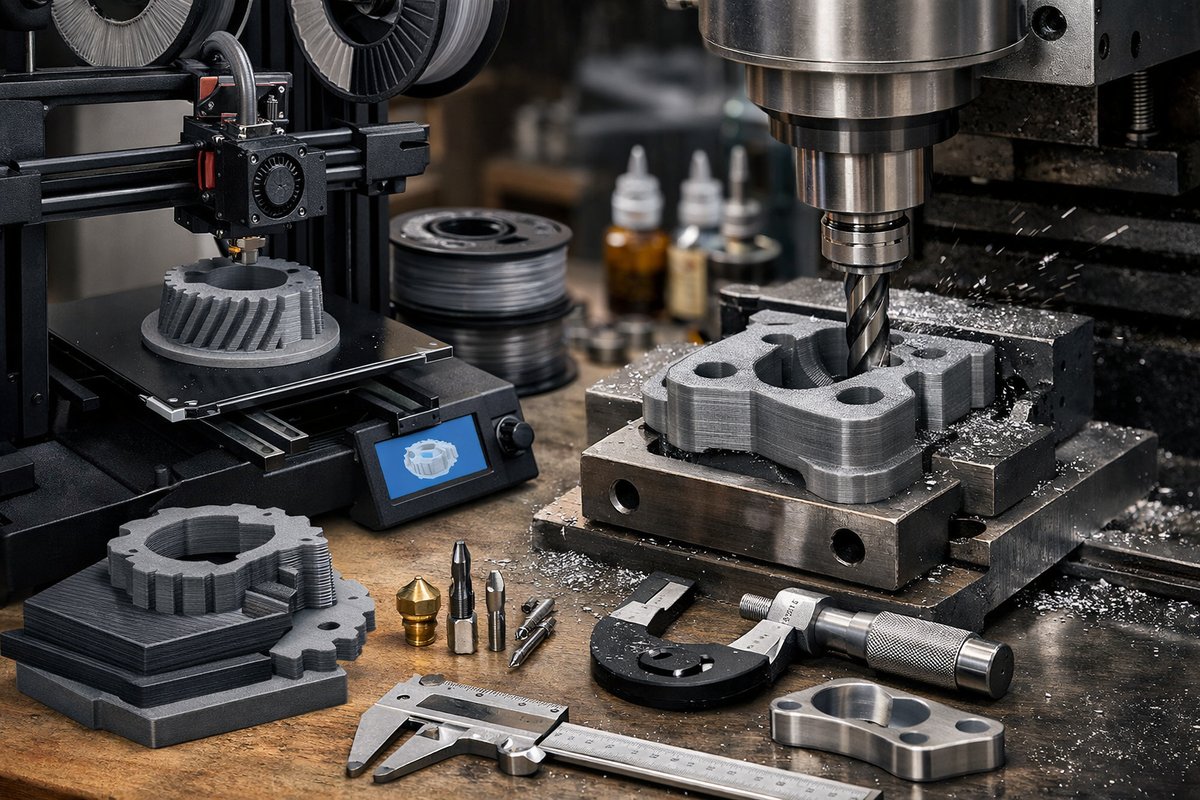

In the world of digital fabrication, additive and subtractive processes need not operate in isolation. By pairing fused deposition modeling (FDM) 3D printing with light CNC milling, you can achieve both the creative freedom of layer-by-layer building and the pinpoint accuracy of a rotating end mill. This hybrid workflow lets hobbyists and small-shop builders produce components with flat faces, mating surfaces, and tight fits-without investing in industrial machines.
The heart of this technique is simple: print your part on an FDM machine using a tailored slicing strategy, then mount it on a desktop CNC router or milling machine for final tuning. The payoff is dramatic. Holes become perfectly round bores, bearing seats host zero-slop fits, and flat mounting flanges register true to within a few thousandths of an inch. Let’s break down each stage and highlight the key tools and settings that make it possible.
Adaptive Layer Height for Smooth Curves and Sharp Details
3D printing at a single layer height is convenient, but it forces a compromise between surface quality and build speed. With variable layer height slicing, you assign thinner layers to regions with fine features-like gear teeth or filleted edges-and thicker layers to infill or steep walls. Start by selecting a slicer that supports adaptive layering. Set your maximum layer at 0.3 mm for rapid infill, then dial your minimum down to 0.12 mm on curved surfaces. This technique reduces visible stair stepping on sloped areas without dragging build times into the realm of hours.
In your slicer’s settings, enable feature recognition so that small cylinders (like screw holes) trigger a thinner layer cap. Apply gradual transitions to avoid abrupt changes that can introduce tool-path artifacts. When previewing the sliced model, look for stepped contours that blend smoothly across edges. You’ll find the balance between speed and quality lies in these micro-adjustments.
Optimizing Hardware: Nozzle, Bed, and Extruder Upgrades
A precise CNC finish demands a reliable 3D print. Start with an all-metal hot end featuring a hardened-steel nozzle sized at 0.4 mm. Steel nozzles resist wear from abrasive filaments-carbon-fiber, glow-in-the-dark, or wood-filled blends-but maintain thermal conductivity to melt PLA, PETG, and nylon cleanly. Pair the hot end with a rigid direct-drive extruder to eliminate stringing and ensure consistent flow rates, especially when you switch to flexible or specialty filaments.
On the build plate, install a removable flexible steel sheet. The magnetic base makes it easy to remove finished prints without gouging the surface. Calibrate your first-layer height precisely using a live-z adjustment feature or paper-shimming method. A perfect first layer lays the foundation for accurate layer stacking-critical when you later mount the part in your CNC vice.
Don’t overlook filament runout detection and power-loss recovery. Missing a fill-level sensor might mean losing 90 percent of a long print if the reel runs dry. A power-resumption module preserves Z-height and extruder position, so you can resume seamlessly after an outage.
Material Selection: Balancing Strength and Machinability
PLA is the go-to for beginners-it’s easy to print and sands cleanly. But if you need functional parts that survive mechanical stress, consider PETG or polycarbonate. PETG exhibits minimal warping and resists fatigue, though it gums cutters more quickly. Polycarbonate demands higher nozzle temperatures but machines to a polished finish that resembles injection-molded parts.
For applications where rigidity and dimensional stability matter-like gears, bushings, and jigs-carbon-fiber-reinforced nylon is a strong contender. It resists heat and wear, but its abrasiveness will dull a standard steel nozzle. Here, the hardened-steel option pays dividends once again.
Printing the Part: Monitoring and Calibration
Once your design is sliced and your materials are loaded, begin with a calibration tower or temperature test model. Print a tapered cylinder with horizontal bridges to gauge optimal cooling. Slow-down for overhangs or steep angles, and watch the first few layers to confirm adhesion. Keep an eye on dimensional accuracy with test cubes-measure each axis with a digital caliper and adjust steps-per-millimeter until the cube measures within ±0.1 mm.
During long prints, set up time-lapse imaging or periodic visual checks. When the printer runs smoothly, you can leave it unattended-but a quick glance every hour can catch curling edges or clogged nozzles before they sabotage a 10-hour build.
Fixture and Setup on the CNC Router
After the print cools, remove any support structures gently with flush cutters. Light sanding at 200 grit can help flatten rough spots, but don’t aim for perfection-your CNC end mill will handle the final passes. Mount the part in a low-profile machinist’s vise, or use double-sided tape on the router’s aluminum spoil board for small pieces.
Align the printed part using a dial indicator or edge finder. For simple flats, an indicator that reads to 0.01 mm ensures your part sits level under the spindle. Lock the vise jaws firmly, and check that the object doesn’t shift when you hand-turn the spindle through a few passes.
Choosing the Right End Mill and Feeds
A 2 mm two-flute carbide end mill is ideal for fine detail and minimal tool marks. Two flutes clear plastic chips more effectively than four-flute cutters, reducing the chance of heat buildup. Use conservative speeds: 8,000 rpm and a feed rate of 200 mm/min for PLA; slow down to 120 mm/min for tougher nylons and carbon-fiber mixes.
A depth-of-cut of 0.2 mm per pass yields smooth surfaces without chatter. For bearing seats or holes, drill a 3 mm pilot hole, then ream or bore with your end mill in slow peck-drill cycles. This approach gives an accurate cylindrical surface ready to accept press-fit components.
Post-Machining Finishing and Assembly
Once milling is complete, unplug the part and inspect critical dimensions with digital calipers. A few captures at key points-thickness of a flange, diameter of a hole, or flatness of a mating surface-confirm your process has held tolerance. If needed, a micro-sanding pad on the CNC can remove tool marks, or you can manually squeeze in final polish with 400-grit paper.
Your now-finished component can slot into assemblies with metal hardware, O-rings, or threaded inserts. For parts exposed to friction, apply a dry-film lubricant such as PTFE spray to key surfaces. Then test-fit gears, shafts, or bearings to validate that the hybrid workflow delivered both design freedom and mechanical precision.
A New Standard for Small-Shop Fabrication
Combining FDM printing with CNC finishing unleashes fresh possibilities for makers, designers, and prototyping shops. You sidestep the high cost of industrial SLS or SLA systems while still achieving tight tolerances, repeatable fits, and high-quality finishes. By focusing on the right slicing strategies, hardware upgrades, and cutter selections, you transform a simple filament extrusion rig into the front end of a mini factory.
Try this workflow on your next functional prototype, custom enclosure, or precision jig. Once you’ve dialed in the process, you can scale it across multiple machines and materials, offering professional-grade quality without sacrificing the creative agility that makes digital fabrication so powerful.
-
ELEGOO Standard Plant-Based 3D Printer Resin for Mars Saturn ...
【Safe and no irriation】ELEGOO Plant-based resin is made mainly from soybean yet still delivers amazing prints, which is Non-BPA, has an ultra-low odor, and ... -
Hardened Steel Nozzle - Amazon.com
Browse hardened steel nozzles designed for high-temperature printing. Ideal for carbon fiber and specialty filaments. -
3d Printer Magnetic Build Surface - Amazon.com
Shop removable magnetic build plates that work with popular 3D printer brands. Explore flexible options for smooth printing experiences. -
Precision Caliper - Amazon.com
Digital Caliper Measuring Tool, Stainless Steel Vernier Caliper Digital Micrometer with Large LCD Screen, Easy Switch from Inch Metric Fraction, 6 Inch Caliper ... -
sisona 1/8" 3/16" 1/4" 5/16" 3/8" Carbide End Mills Set - Amazon.com
sisona 1/8" 3/16" 1/4" 5/16" 3/8" Carbide End Mills Set - Solid Carbide (Tungsten Carbide + Cobalt) - 5Pcs 4 Fulte CNC Mill Bits for Steel - TISIN Coated: ... -
Uv Cure Box - Amazon.com
3D Printer Resin Curing Station DIY Curing Enclosure with UV Light UV Lamp Solar Turntable for 405nm UV Resin SLA DLP LCD 3D Printer Solidify Model.