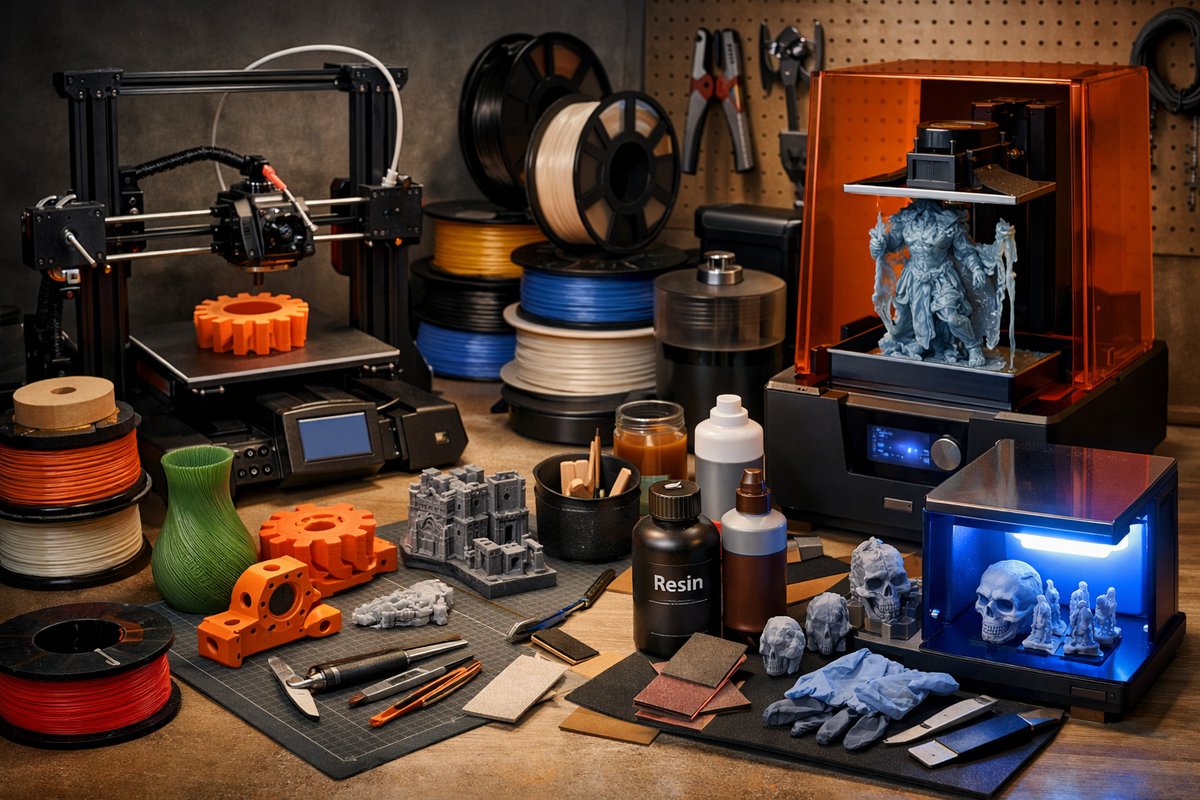

3D printing has steadily shifted from an industrial novelty to a household staple, empowering makers, entrepreneurs, and educators around the world. Rather than merely melting plastic or curing resin layer by layer, modern hobbyists and professionals harness a modular ecosystem of hardware, software, and materials to transform digital designs into tangible objects. This guide lays out the practical elements of the craft-key tools, popular materials, core techniques, and sustainability tips-to help you bring your ideas off the screen and into your hands.
At its core, 3D printing relies on additive manufacturing: building objects by depositing or solidifying layers in succession. The two most widespread methods are fused deposition modeling (FDM) and vat photopolymerization (commonly called resin printing). FDM machines drive thermoplastic filament through a heated nozzle, drawing each layer onto a build plate. Resin systems use a light source to selectively cure liquid polymer in a vat. Each approach demands its own hardware, calibration routines, and post-processing steps, so understanding their differences is vital before making a purchase.
Essential tools begin with the printer itself. Beginner-friendly devices often feature enclosed build chambers, touchscreen interfaces, and assisted bed leveling. More advanced rigs may offer dual extruders, high-temperature hotends, or interchangeable toolheads for CNC or laser engraving. Whatever the model, reliable motion systems and sturdy frames minimize vibrations, yielding sharper layers and smoother surfaces. Investing in a device with an easily removable build plate and standard accessory ports can future-proof your setup and simplify routine maintenance.
Software forms the bridge between a 3D model and printed part. Slicer programs translate geometry into toolpaths, generating instructions for nozzle movement, extrusion rate, and layer height. Familiarize yourself with key settings-perimeter count, infill density, print speed, and support generation-to fine-tune strength, print time, and surface finish. Many slicers include built-in profiles for popular filaments and printer architectures, but experimenting with custom parameters remains the fastest route to mastering your machine’s capabilities.
When it comes to filaments, the market offers dozens of thermoplastic formulations. PLA remains the go-to choice for newcomers: biodegradable, low-warp, and available in vibrant hues. Upping the ante, PETG blends PLA’s ease of use with improved temperature resistance and toughness. ABS demands a heated chamber to prevent cracking but rewards users with durable parts suited for automotive or mechanical applications. Flexible and composite filaments-like TPU or wood-filled PLA-invite creative flair, though they may require hardened-steel nozzles and precise temperature control.
Resin printing unlocks higher resolution and smoother finishes at the expense of extra post-processing. Standard photopolymer resins cure under ultraviolet light to form rigid, detailed parts. Tough formulations mimic engineering plastics for functional prototypes, while castable resins burn out cleanly for jewelry or dental models. After printing, parts must be rinsed in isopropyl alcohol and post-cured under UV light to reach full mechanical properties. Proper ventilation, gloves, and solvent management are non-negotiable to maintain safety and cleanliness.
Beyond raw materials, calibration and maintenance gear keep prints running smoothly. Digital calipers let you verify dimensional accuracy down to a few hundredths of a millimeter. A feeler-gauge or sensor-assisted bed leveling system ensures the first layer adheres uniformly across the platform. Replacement nozzles-brass for general use, hardened steel for abrasive filaments-will extend uptime and preserve quality. Keep a dedicated toolkit at the ready: scrapers for removing prints, brushes for clearing nozzle clogs, and lubricant for smooth rail movement.
Mastering print orientation and support strategy often marks the leap from acceptable models to professional-grade parts. Position overhangs to minimize scaffold structures, orient flat surfaces toward the build plate, and stagger complex geometries to improve heat distribution. Generous support footprints help resin prints survive lift forces, while tree-like structures reduce material usage and cleanup time. Once supports are removed, gently sanding or camouflaging seams with filler primer can restore a seamless appearance.
Post-processing doesn’t end with support removal. Sanding through multiple grit levels polishes FDM parts to a satin finish, while filler primers fill micro-layer gaps. Specialized resin finishing kits include silicone pads and polishing compounds to achieve mirror-like surfaces. For functional assemblies, tapping screw holes directly into printed parts can streamline hardware integration. Painting or dyeing plastics further personalizes prints-just remember to choose primers and paints compatible with your base material.
Sustainability in 3D printing has gained momentum alongside circular-economy movements. Bio-based filaments derived from agricultural byproducts reduce reliance on petrochemicals, while chemical recycling systems break down failed prints into fresh polymer pellets. Filament makers now offer take-back programs for used spools, turning waste into feedstock for industrial extrusion lines. Thoughtful design choices-hollowing thick sections, adding cutouts, or opting for lattice infill-shrink material consumption and print time without sacrificing structural integrity.
As your confidence grows, explore advanced techniques like multimaterial printing and embedded electronics. Dual-extruder FDM printers can seamlessly switch between rigid and flexible filaments in one pass, enabling hinges, seals, or soft grips to integrate directly. Pausing prints to drop in nuts, magnets, or wiring paves the way for functional prototypes and smart devices. For resin setups, consider the latest high-speed projectors that slash layer times or modular vats that allow quick material swaps between runs.
Remote monitoring and automation platforms now integrate with many modern printers, offering live webcams, print-failure detection, and cloud-based slicing. While these features can streamline long print jobs, they also raise privacy and security considerations. Opt for open-source firmware and self-hosted management tools when possible, inspecting network traffic to ensure your workshop remains isolated from broader IT systems.
The spirit of collaboration and open design underpins the 3D printing community. Online repositories host millions of free models, from functional tool holders to whimsical art objects. Participating in local maker spaces or online forums accelerates learning-trouble-shoot common issues, swap print profiles, or share modifications. Many communities coordinate group buys, bringing down costs for specialty materials or shared hardware upgrades.
Whether your goal is to prototype rapid iterations, fabricate one-off replacement parts, or push the boundaries of creative expression, the interplay of tools, materials, and techniques defines your success. By building a solid foundation in printer mechanics, material properties, slicing strategies, and post-process workflows, you’ll unlock a world of possibilities that extend far beyond plastic and resin. Every experiment-successful or not-teaches new lessons about geometry, chemistry, and design for additive manufacturing.
Ready to take the next step? Start with a simple calibration cube or mechanical fitting to test tolerances. Swap one parameter at a time-adjust bed temperature, tweak cooling fans, or try a different infill pattern-to isolate effects and refine your process. Keep meticulous notes in a digital lab notebook or spreadsheet. As your print quality improves, so will your ability to tackle complex assemblies, multicolor creations, and functional prototypes that withstand real-world demands. The future is layered, and your workshop is the laboratory.