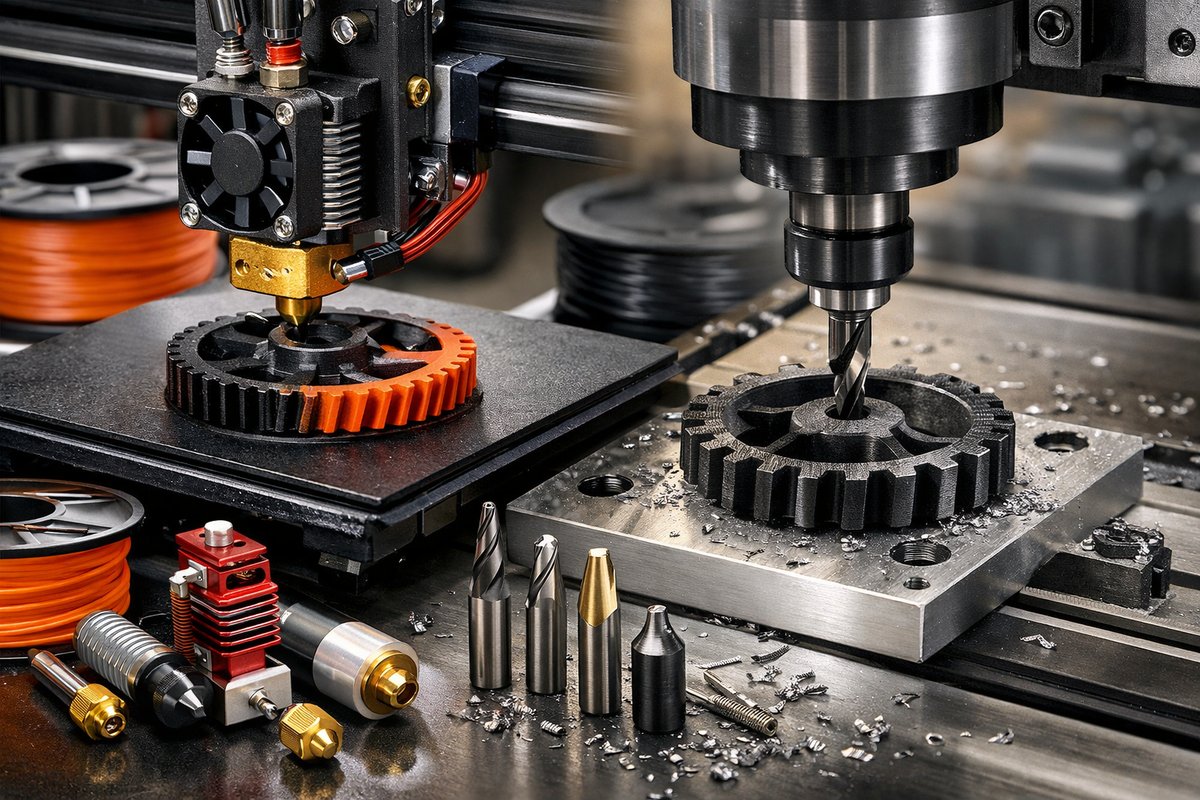

Additive manufacturing is more than a way to build parts; it’s a mindset that embraces design freedom, material efficiency, and rapid iteration. At its simplest, Fused Deposition Modeling (FDM) prints thermoplastic layer by layer, but mastery comes with understanding the components that make each layer crisp, the parameters that enforce dimensional accuracy, and the tools that refine the surface. This guide walks you through every step-from slicing your first STL file to CNC-finished edges-so you can tackle projects with confidence and creativity.
Design with Purpose
Every successful print begins in CAD. Whether you’re drafting brackets for drone frames or custom fixtures for lab equipment, design with tolerances and overhang angles in mind. Standard FDM printers handle angles up to 45 degrees without support, but steeper contours need support structures or hybrid strategies. Incorporate chamfers, fillets, and alignment pins to reduce post-print work, and keep wall thicknesses between 1.2 and 3 millimeters for optimal strength. Export your model as an STL and double-check wall offsets in your slicer’s preview mode.
Slicing Strategy
Choosing the right slice settings transforms a digital model into a real-world object. Start with a 0.2-millimeter layer height for balanced resolution and speed. If you need finer detail-say, for interlocking gears-drop to 0.1 millimeters, but brace for longer print times. Infill at 20 to 30 percent for most functional parts; increase to 50 percent for load-bearing components. Enable a brim or raft if your base area is small, ensuring foundation stability. Set outer walls at three passes for dimensional accuracy, and tune print speeds between 40 and 60 millimeters per second depending on your filament’s thermal properties.
Essential Components
Your printer’s performance hinges on a handful of parts that often go unnoticed until they fail. A hardened steel nozzle resists abrasion from composite and glow-in-the-dark filaments, maintaining a consistent orifice diameter over hundreds of hours. An all-metal hot end assembly extends your material range, handling high-temperature plastics like polycarbonate and nylon. A flexible spring steel build surface backed with a removable sheet provides reusable adhesion: parts pop off when the bed cools, reducing the risk of damage.
Bed Preparation
Leveling the bed and achieving the perfect first layer are critical. Use a precision digital caliper or feeler gauge to set nozzle height at a fraction of a millimeter above the build surface. Apply a thin layer of adhesive solution or rely on the PEI sheet’s natural grip for PLA and PETG. Heat the bed to 60 to 70 °C for PLA, or 80 to 100 °C for PETG and ABS blends. Once your first layer sticks without gaps or bulges, you’re ready to watch your part rise from plastic thread to functional hardware.
Printing the Test Piece
Before committing to a full-scale part, print a calibration cube and bridging test. Fine-tune extrusion multipliers until the cube measures exactly 20.00 by 20.00 by 20.00 millimeters and bridges span cleanly without sag. Inspect corner sharpness and check for stringing or under-extrusion. Use these findings to adjust retraction distance and speed: typically 5 to 7 millimeters at 25 to 50 millimeters per second.
Hybrid Finishing with a CNC Router
Once your FDM print is complete, embrace a hybrid workflow by finishing critical surfaces with a CNC router. Secure your part in a fixture or double-sided tape, then select a carbide end mill sized for your detail level-a 3-millimeter ball end mill for curved contours or a 6-millimeter square end mill for flat faces. Set spindle speed at 15,000 to 18,000 RPM and engage cuts of no more than 0.5 millimeters per pass to avoid chatter. Use a gentle mist of cutting fluid or air blast to clear chips. The result is a surface finish rivaling injection-molded parts and edges that meet precise geometric tolerances.
Troubleshooting Common Challenges
Stringing often signals excessive nozzle temperature or insufficient retraction. Reduce the hot end by 5 °C steps until strings vanish. Warping can plague large ABS prints: enclose the printer to maintain a stable environment, or switch to a high-adhesion build plate. Layer shifts point to mechanical binding-check belt tension and lubricate linear rails or lead screws. Dimensional inaccuracy may stem from flexing-upgrade to a hardened steel nozzle and tighten all coupling hardware. A well-tuned machine minimizes surprises and builds trust in each print.
Material Spotlight: PLA vs. PETG vs. Nylon
PLA remains the go-to choice for rapid prototyping thanks to its ease of use and crisp details. PETG bridges the gap between strength and flexibility, ideal for parts that endure repeated stress or moderate heat. Nylon excels in mechanical performance-its wear resistance and toughness suit gears, bushings, and industrial components. Pair each material with the right hardware: a hardened steel nozzle for nylon’s abrasives, an all-metal hot end for sustained temperatures, and a sealed filament dry box to prevent moisture uptake.
Safety and Sustainability
Keep your workspace well-ventilated, especially when printing high-temperature polymers that emit ultrafine particles. Wear safety glasses and handle cooling fans and hot ends with care. Recycle failed prints by shredding and converting to filament through a DIY extruder, or deposit them at local maker spaces that accept industrial plastic scrap. By feeding old parts into new designs, you honor both environmental responsibility and the ethos of additive manufacturing.
Next-Level Projects
Try printing custom jigs with integrated mounting holes, then CNC-finish the contact surfaces for precision alignment. Design interlocking shells for electronic enclosures and thread-tapped bosses, then post-tap by hand or with a socket tool. Experiment with lattices and internal channels that reduce weight without sacrificing strength. As your confidence grows, consider multi-material prints using soluble supports: a water-soluble filament for complex overhangs leaves only the structural plastic you intended.
Finishing the Journey
Combining FDM printing with CNC finishing elevates both processes. The printer prototypes form; the router refines features. Together, they unlock faster iteration cycles and parts that meet exacting specifications. By mastering key components-nozzles, hot ends, build surfaces-and refining your workflow, you’ll transform raw plastic into parts that deliver both function and finesse. Now it’s your turn: dial in your slicer, load the filament, and watch your ideas take shape layer by layer, pass by pass, until subtraction by milling reveals the true potential of your additive creations.