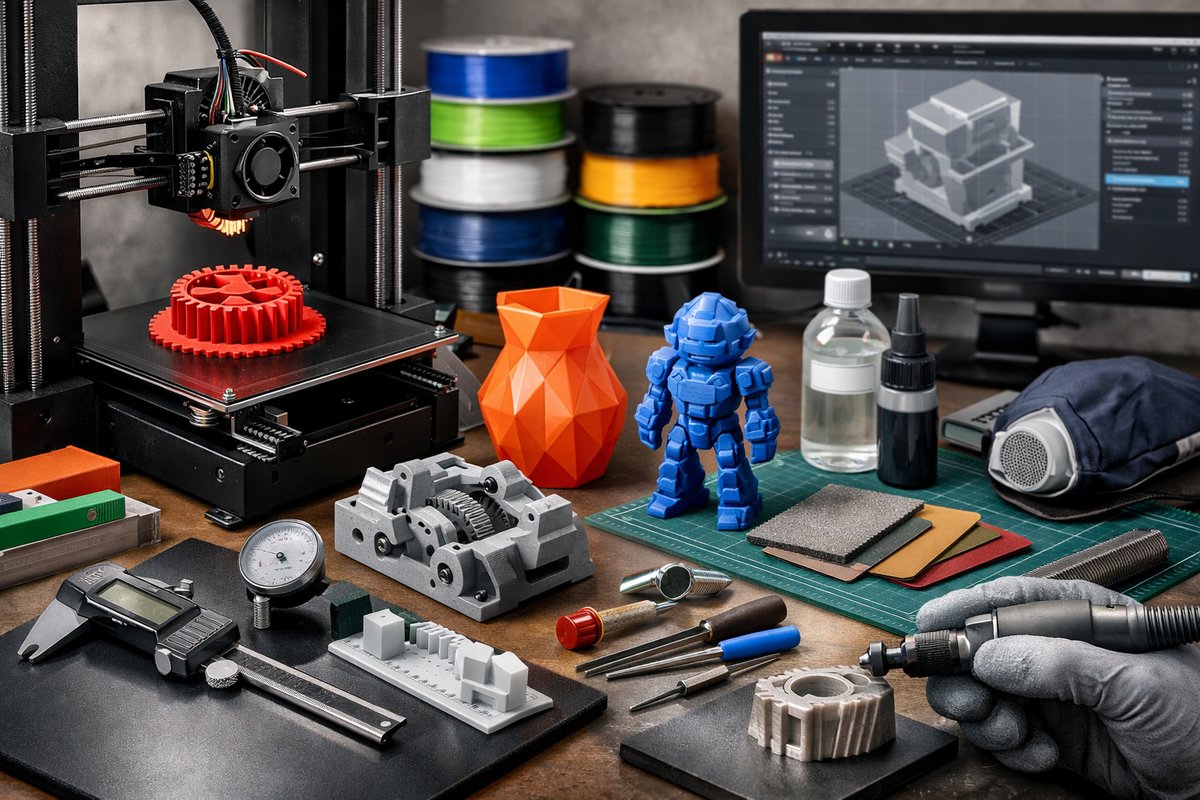

Stepping into the realm of 3D printing can feel like unlocking a parallel workshop where imagination takes tangible form layer by layer. While the basics of loading a design file and hitting “print” are deceptively simple, the true potential of this technology emerges when you understand the interplay between materials, hardware, and technique. This guide delves into core concepts, practical workflows, and real-world tips that bridge the gap between novice enthusiasm and reliable, professional-grade prints.
At its heart, additive manufacturing transforms digital models into physical objects by laying down successive layers of material. Though materials and printer architectures vary, three pillars remain constant: selecting the right filament or resin, fine-tuning machine settings, and refining parts through thoughtful post-processing. Each pillar offers a surprising depth of options and trade-offs, opening doors to artistic expression, functional prototyping, or even small-batch manufacturing. Let’s explore how to empower your next project.
Material Matters: From Bioplastics to High-Performance Polymers When recommending materials, it helps to group them by accessibility and performance tier. For beginners, PLA filament reigns supreme. Derived from renewable sources, PLA melts at relatively low temperatures, producing crisp details and minimal warping. It excels at desktop prototyping and decorative objects, though it’s less suited to high-stress or high-temperature environments.
Stepping up, ABS filament offers stronger mechanical properties and greater heat resistance. It does demand a heated bed and a well-ventilated workspace to manage fumes and warping. PETG blends the ease of PLA with enhanced toughness and chemical resistance, striking a balance for functional parts like mechanical brackets or outdoor fixtures.
For specialized use cases, consider nylon for flexible, durable parts or composite filaments infused with carbon fiber, wood particles, or metal powder to mimic exotic finishes. Surface treatments, sanding, or even chemical smoothing with appropriate solvents can coax out polished textures. And for those exploring photopolymerization, UV resin brings extraordinary surface detail-ideal for jewelry prototypes or dental models-though it requires post-cure equipment and careful handling.
Equipping Your Workshop: Essential Tools and AccessoriesBeyond the printer itself, a small arsenal of tools transforms rough prints into refined creations. A precision scraper and flexible build-plate sheet ensure smooth, reliable part removal without damage. Digital calipers allow you to verify critical dimensions, identify shrinkage or expansion, and adjust slicer compensation accordingly.
A basic tool kit featuring flush cutters, needle-nose pliers, hobby knives, and fine-grain sandpaper unlocks detailed trimming, support removal, and surface finishing. For resin workflows, disposable gloves, safety glasses, and dedicated UV-blocking containers keep handling safe and clean. Storage solutions-sealed bins with desiccant packs-prolong filament shelf life by preventing moisture absorption, which can lead to bubbles and nozzle jams.
Calibration stands at the intersection of hardware and material. Leveling the build plate ensures the first layer adheres uniformly-a critical step for print reliability. Whether manual or assisted by bed-level sensors, revisit calibration whenever you swap materials or relocate your printer. Extruder tension and nozzle health also impact flow consistency; routine maintenance extends component lifespan and print quality.
Software and Slicing: Turning Models into MotionChoosing robust slicing software is a pivotal decision. Even free, open-source slicers provide advanced presets, custom profiles, and integrated support-generation algorithms. Key parameters include layer height (which balances surface finish and print time), infill density (impacting strength and weight), and printing temperature (affecting adhesion and smoothness).
Retraction settings minimize stringing by pulling filament back before travel moves. Print speed controls must align with material capabilities and mechanical stability. When tackling overhangs or bridging gaps, enabling support structures can prevent drooping layers-but be ready to clean up support scars through careful sanding or designed breakaway tabs.
For complex or multi-color prints, multi-extruder setups or pause-and-swap G-code commands open creative possibilities. Mesh-molding and adaptive slicing techniques dynamically adjust layer thickness where fine detail is needed. And integration with cloud-based model libraries streamlines access to open-source or community-driven designs that jumpstart new projects.
Mastering Post-Processing: Elevating Print QualityPost-processing transforms raw prints into polished prototypes or end-use products. Begin with support removal-flat-bottomed razor scrapers and pliers can pry away scaffolding without gouging surfaces. For FDM parts, wet sanding from coarse to fine grit levels out layer lines. Applying thin coats of filler primer helps mask imperfections before a final sanding pass and paint or dye application.
Resin prints benefit from an isopropyl alcohol wash followed by UV curing-using either a dedicated curing station or DIY setups with LED arrays. Experiment with tinted resins or colored washes to achieve translucent effects or gradients. For metal-filled or wood-filled composites, gentle abrasion reveals embedded particles, creating authentic textures.
Sealing printed parts enhances durability and appearance. Silicone-based sprays or brush-on sealants protect against moisture and UV degradation. Flexible parts can be dip-coated to improve abrasion resistance without compromising elasticity. Pro tip: Always test finishes on scraps to dial in cure times and application thickness.
Designing for Success: Tips and TricksOptimizing models for 3D printing reduces waste, shortens print times, and improves reliability. Orient parts to minimize unsupported overhangs and reduce the need for excessive supports. Incorporate small drainage holes in watertight models to release trapped resin. Design interlocking features with clearance tolerances that match your printer’s achievable precision-typically around ±0.2 mm for desktop FDM machines.
Fillet sharp interior corners to encourage smoother filament flow and reduce stress concentration. Add chamfers to aid support removal. When printing threaded components, design anti-backlash features or include sacrificial threads that are cut away and tapped post-print. For assemblies, test fit small contact points before gluing to ensure snug connections without forcing parts into place.
Leveraging parametric CAD tools lets you iterate quickly by adjusting key dimensions without redrawing entire parts. Community platforms and plugin libraries can automate tasks like lattice generation or simple mechanical connectors, giving you more time to focus on innovation rather than repetitive modeling.
Sustainability and Waste ReductionAs 3D printing adoption grows, so does filament and failed-print waste. Keep scrap filament for test prints and calibration towers. Some communities offer recycling services that grind and extrude filament from old spools, closing the material loop. When possible, choose biodegradable or recycled filaments to reduce environmental impact.
Optimize print orientation, infill patterns, and part consolidation to minimize material use. Multi-part assemblies can print nested or snap-fit, reducing support structures and print volume. Share surplus or unused filament with local maker spaces or educational institutions to foster collaborative learning and responsible resource use.
Looking Ahead: Emerging TrendsInnovations in 3D printing continue to expand beyond desktop prototyping. Large-format printers enable furniture and architectural components. Hybrid machines combine milling heads for subtractive trimming after additive layering. Metal powder bed fusion and directed energy deposition are migrating into small-build platforms for custom end-use metal parts.
Bioprinting research is exploring tissue scaffolds and organ models, while food printing experiments blend culinary arts with precise nutrient and flavor layering. Advances in multi-material printing promise seamless transitions between rigid, flexible, and conductive materials-all within a single workflow. As prices decline and open-source communities flourish, expect more creative applications in art, healthcare, aerospace, and beyond.
Whether you’re crafting a custom drone frame, prototyping medical devices, or simply exploring a new hobby, understanding the symbiosis of materials, tools, and technique is the key to success. Embrace experimentation, document your settings, and share your findings-every failed print teaches lessons that elevate your next masterpiece. The future of making is literally at your fingertips, ready to be shaped by each layer you deposit.
May your prints adhere flawlessly, your support removal be swift, and your imagination layer without limit.