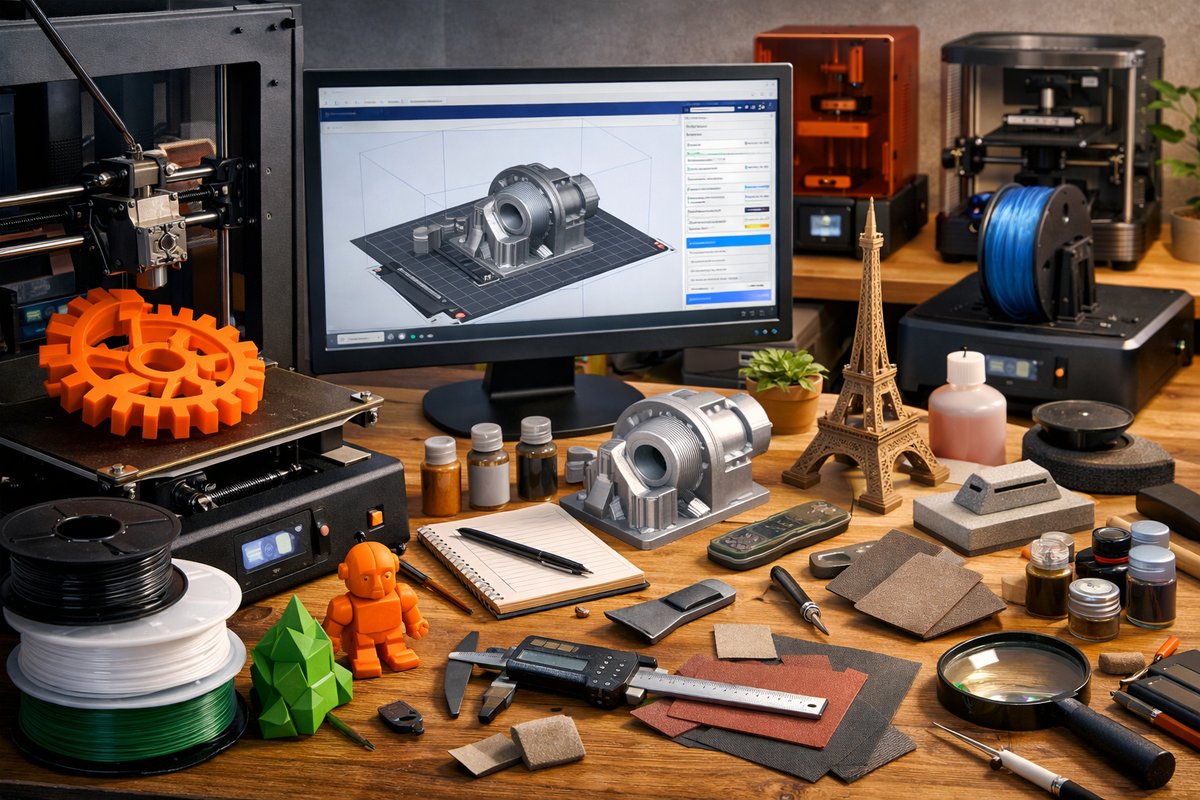
The landscape of 3D printing has expanded far beyond simple plastic prototypes. Today’s makers can draw from a palette of high-performance filaments, advanced extruder designs, and sophisticated slicing tactics to realize functional parts, vibrant art objects, and precision mechanical components. This deep dive unpacks the key materials, tools, and techniques you need to level up your workflow, plus a complete step-by-step example project to bring all the theory into practice.
Exploring Filament Diversity
Selecting the right filament is the foundation of any successful print. From beginner-friendly polylactic acid to flexible thermoplastic polyurethane, each material offers unique mechanical properties, surface finish, and temperature requirements. PLA remains popular for its low warping, ease of printing, and wide color range, plus biodegradable sourcing. ABS unlocks higher heat resistance and toughness but demands a heated chamber or enclosure to minimize cracking. PETG bridges the gap, blending impact strength with chemical resistance and reduced odor compared to ABS. For applications requiring elasticity-like phone grips or wearables-TPU and TPE deliver stretch and rebound. Advanced users can explore nylon for its abrasion resistance, carbon-fiber composites for rigidity, and wood- or metal-filled blends for textured surfaces.
Key considerations when evaluating filament include recommended nozzle and bed temperatures, filament diameter tolerance, spooling method, and storage needs. Moisture sensitivity is critical for nylon, PETG, and TPU, so a dry box or desiccant pack can preserve filament quality. Composites often require hardened steel nozzles to resist abrasion, while flexible filaments may benefit from a direct-drive extruder for consistent feeding.
Setting Up for Multi-Material Printing
Printing two or more materials in a single part invites creative geometry and functional gradations-think flexible hinges in a rigid frame or contrasting color accents without manual swapping. Dual-extrusion setups range from simple filament-swapping toolheads to independent dual-extruder systems. Before upgrading, ensure your printer’s firmware supports multiple toolheads and your motion system can handle the additional carriage weight. Calibrate each nozzle’s offset to within a few tenths of a millimeter for seamless transitions and minimal ghosting along material boundaries.
For single-nozzle multi-material approaches, a mixing hotend or filament-switching turret can alternate feed lines. Although hardware costs may rise, these methods preserve build volume and reduce toolhead collisions. Whichever path you choose, adopt color-change purges or wipe towers in your slicing profile to maintain color fidelity and prevent stringing between extruders.
Fine-Tuning with Slicing Software
Slicing software is where material science meets mechanical motion. Critical parameters include layer height, infill density and pattern, wall count, print speed, and temperature controls. A lower layer height yields finer surface finish but prolongs print time; a higher infill ratio boosts strength at the expense of material usage. Advanced infill patterns, such as gyroid or cubic, can deliver isotropic strength in functional parts. Temperature towers help you identify the sweet spot for each filament, testing adhesion and stringing at incremental settings in a single test print.
Other powerful techniques include variable layer height, which allocates finer layers to curved surfaces and thicker layers to flat regions, balancing detail and speed. Adaptive slicing can respond in real time to model geometry, while seam hiding strategies choose optimal start points for each layer to minimize visible defects. Once you dial in retraction distances, coasting, and wiping moves for your hotend, you’ll see drastic reductions in oozing and surface blemishes.
Step-by-Step Project Walkthrough
To bring these concepts together, we’ll outline printing a multi-material custom gear holder. This example captures material selection, calibration, slicing setup, and post-processing in one cohesive build.
1. Design Phase: Model two interlocking gear brackets and a flexible latch in CAD. Assign the main housing to PLA for stability and the latch to TPU for spring action. Export each as separate STL files and group them in your slicer as distinct tool assignments.
2. Material Prep: Load PLA on Extruder 1, TPU on Extruder 2. Dry the TPU spool in a filament dryer for two hours at 40 °C to prevent under-extrusion. Secure both spools on well-lubricated filament guides to minimize drag.
3. Calibration: Print a dual-extrusion calibration cube that checks nozzle alignment and flow rate. Measure actual wall thickness with a digital caliper and adjust flow multipliers until each side measures within 0.05 mm of the target.
4. Slicing Settings: Use a 0.2 mm layer height for the gear housing and 0.15 mm for the latch to maximize flexibility. Set PLA nozzle to 200 °C, TPU nozzle to 220 °C, and bed temperature to 60 °C. Enable a 20 mm/s print speed for TPU and 50 mm/s for PLA. Add a slim wipe tower off to one side for consistent material changes.
5. Test Print: Print only the latch with TPU to confirm elasticity and layer adhesion. Tweak retraction (reduce to 1 mm at 20 mm/s) if you notice stringing. Once the TPU test passes, print the full assembly, keeping an eye on ooze zones and cleaning the nozzle as needed.
6. Assembly and Testing: Detach prints from the build plate using a thin metal scraper. Snap the latch into the housing and cycle it open and closed to confirm spring action. If friction is high, sand tiny notches where the parts collide, then apply a drop of silicone-based lubricant.
Mastering Post-Processing and Finishing
A polished part elevates 3D prints from prototyping to professional quality. Begin by removing layer lines: sand with progressively finer grit sandpaper, starting at 200 grit and finishing at 600 or 800 grit. For PLA and ABS, apply a filler primer spray, let it cure, then sand again for a smooth base. ABS can be smoothed further with a controlled acetone vapor bath inside a sealed container-exercise caution and proper ventilation. PETG generally resists aggressive solvents, so light sanding and primer are safer alternatives. Once smooth, select a spray or airbrush paint formulated for plastics and mask transitions between materials if you want crisp color boundaries. A final clear coat seals the finish, adds gloss or matte texture, and protects against UV fading.
Embracing Safety and Sustainability
Safety is paramount when working with heated surfaces, moving parts, and chemical solvents. Always wear safety glasses when removing supports or using power tools. Use gloves and respirators when handling resin, ABS fumes, or acetone. Maintain good ventilation with a fume extractor or open window to minimize odor and inhalation risks.
Sustainability can be woven into every step. Choose biodegradable or recycled filaments whenever possible. Collect failed prints and support waste, then recycle them through filament shredders or mail-in programs. Select energy-efficient printers with standby modes, and power down heaters and fans during idle periods. By adopting a circular mindset, you reduce plastic waste and extend the lifespan of your tools and workspace.
A Canvas for Continual Experimentation
The true joy of 3D printing lies in relentless iteration. Each batch of filament, firmware update, or nozzle swap presents fresh opportunities for learning. Log your settings, measurements, and results in a build journal so you can revisit successful profiles and avoid past pitfalls. Join maker communities to share discoveries, troubleshoot stubborn issues, and glean novel approaches from around the globe. With practice, patience, and creative curiosity, you’ll master the intricate dance between materials, machines, and software that brings your ideas into tangible form.
Whether you’re crafting a functional prototype, a decorative sculpture, or an engineering marvel, this modular approach to materials, techniques, and tool use ensures your next print is stronger, smoother, and more sustainable than ever before. Now pick up that spool, fire up your slicer, and let experimentation lead you to breakthrough designs and flawless finishes.
No affiliate links found for this post.